

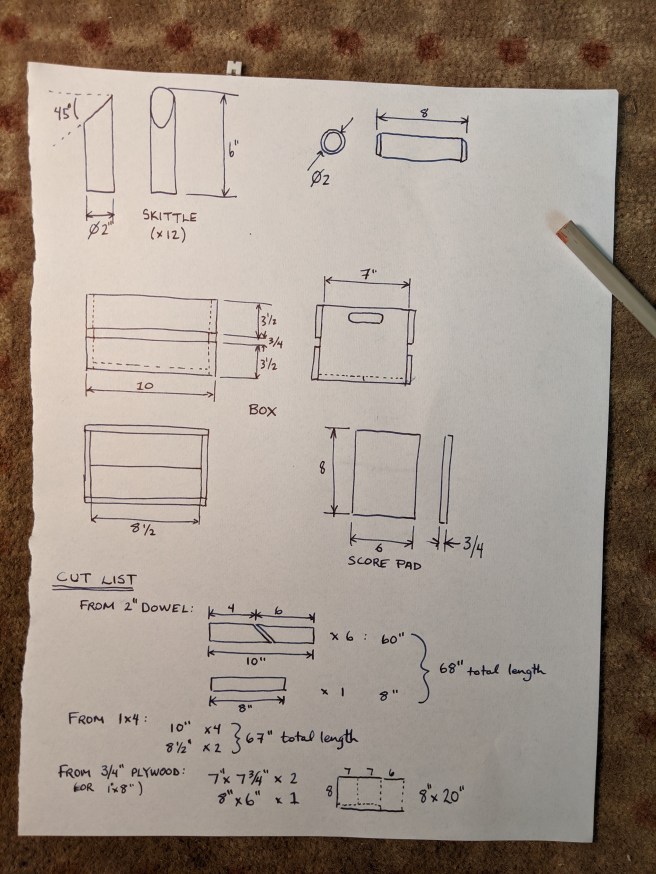
Step 1: The plan. Always a good place to start.
I looked up the rules and regulations, and poured a little bit of brain-juice out through my pen onto some paper. With that bit of compulsive engineering out of the way, I was ready to start pulling materials together.
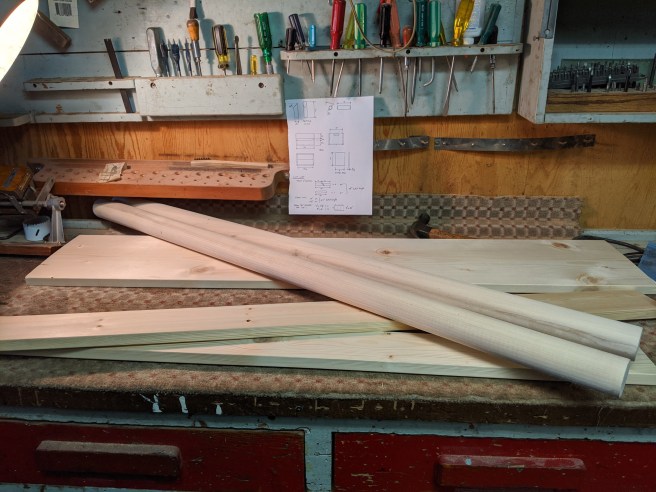
Step 2: Procure materials.
The cut list in the plan lays it all out, and I’m happy to say the final result didn’t end up deviating from the plan in any major way. It also didn’t break the bank.
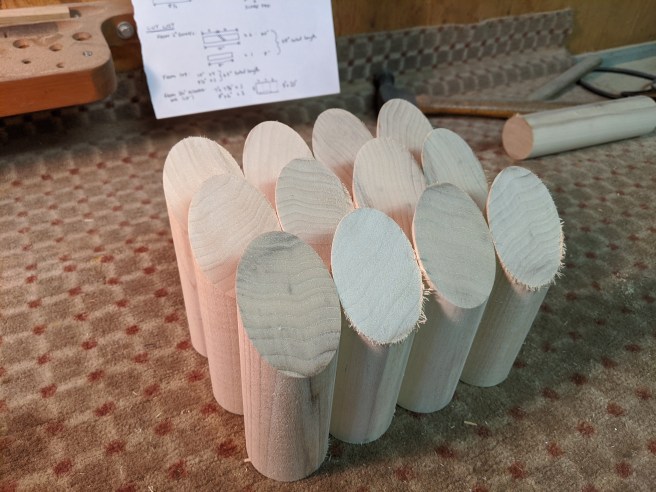
Step 3: Cut the skittles.
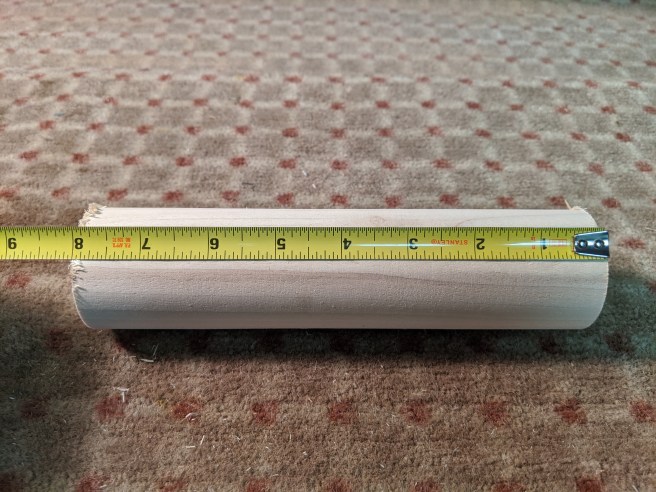
You’ll need a sharp knife and a steady hand. Oh wait, not that kind of skittles. First cut the dowel to six 10″ lengths.
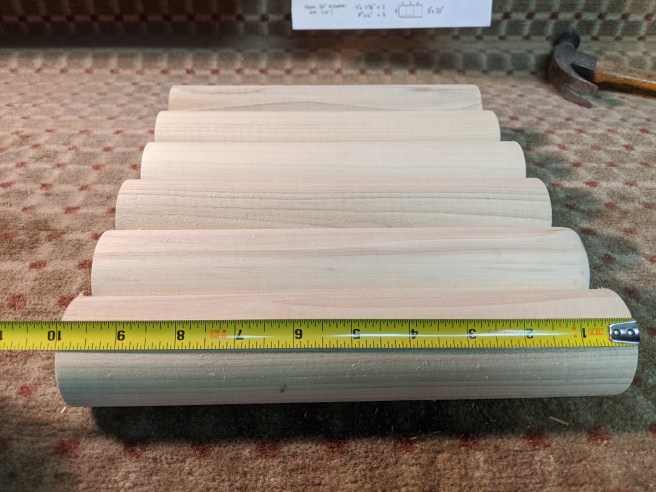
Then cut those lengths directly in half at a 45 degree angle. This leaves the high side of the skittle at 6″, and the low side at 4″.
Step 4: Cut the Mölkky.
This step is pretty easy. One cut, 8″.
Step 5: Cut the box boards and the scorepad.
Nothing too fancy here. The 1″ x 4″ pieces are as follows: four at 10″, and two at 8 1/2″. From your larger piece (I used a 1″ x 10″ board), cut one scorepad to 8″ x 6″, and two box-sides to 7″ x 7 3/4″.


Step 6: Cut the handles.
Into the box-sides, cut a one-inch wide slot an inch down from the top of the board. Remember that the top side is the narrow (7″) edge. I started with two 1″ holes at the 2″ and 5″ marks, then completed the slot with a hacksaw and file combination. There are cleaner ways, but my scrollsaw was out of commission.


Step 7: Make some dust.
At this stage I sanded out all the major defects, tool marks, etc. and rounded all the sharp corners. Very glad I sprang for the belt sander a while back.

Step 8: Build the box.
Wood glue, clamps, and finishing nails were my tools of choice to put the box together. I set it up so that the bottom boards are held to the sides by nails in shear rather than pull-out tension. Not that the Mölkky set itself needs a lot of strength, but in my experience crates tend to get repurposed.


Step 9: Drill many many holes on the scorepad.
Mark it out, punch a guide, then drill… 362 times. If you do one a day, you’ll be done in less than a year.
Without a drill press, I needed a good way to consistently and quickly get the right depth, as these aren’t through-holes. I drilled through a short length of dowel, until my drill bit extended only as far as I wanted the holes to go. Then I drilled the holes with the dowel shrouding the drill bit, and keeping it from going too deep. I used 9/64″ holes to fit 1/8″ dowel pegs. The holes are 1/4″ on-centre from each other at a minimum.


Step 10: Cut the pegs, and make storage holes for them.
1″ long bits of 1/8″ dowel work for pegs, and holes in the sides of the scorepad serve to store them.


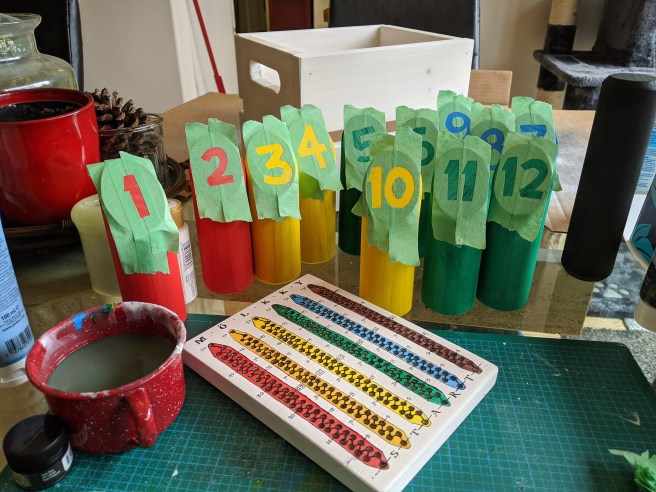
Step 11: Do a snazzy paint job.
I went for white on the box, bold colours on the skittles, and black for the Mölkky. All painted with craft acrylics and a paintbrush. For the detailed inking for the scorepad I pulled out the pen-and-ink. Are there faster ways to do this? Sure. But turtles live an awfully long time.
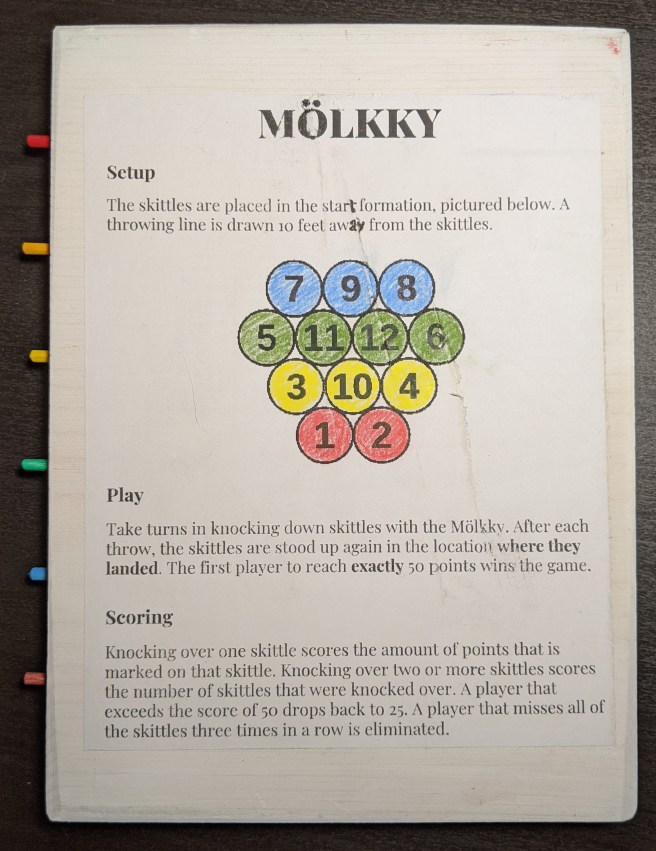
Step 12: Follow the rules.
I printed out a rule sheet, and pasted it onto the back of the scorecard with watered-down white glue. That way it’s always there when you need it for the inevitable dispute.
I’m not too happy with the wrinkles that came as a result of the water-and-paste method. I guess that’s what you get for going too fast.
Step 13: Spray a clear coat.
Last step is to spray everything down with a clear-coat, to keep things nice as long as possible.
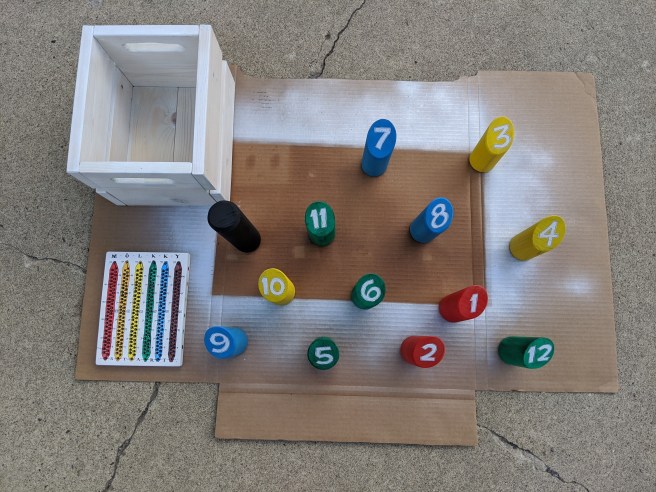
And that’s a wrap.
It fits neatly into a the box, and has everything you need to play!


